Over the past week, Pokemon Go has been teasing a Halloween-related event with found-footage style videos, which were suspiciously reminiscent of the trailer for Hisuian Zorua in Pokemon Legends: Arceus. As it turns out, Zorua is actually coming to Pokemon Go for the first time this Halloween–here’s how you can catch it.

The teasers posted by Pokemon Go included videos and screenshots with large numbers of Pokemon such as Noibat, Magikarp, and Pikachu spawning on the map, including references to Shuppet’s Spotlight Hour. Now, Niantic has revealed that Zorua is the Pokemon behind these mysterious spawns, which are related to the buddy Pokemon the Trainer has accompanying them.

Aha! It wasn’t your buddy causing all the mischief — it was the Tricky Fox Pokémon, Zorua! Find out what tricks await you and your buddy…#PokemonGOHalloween pic.twitter.com/cEonHzvYos

— Pokémon GO (@PokemonGoApp) October 25, 2022

If you want to catch Zorua in Pokemon Go, you’ll have to have your buddy on the map during tonight’s Shuppet Spotlight Hour, which runs on October 25 between 6pm and 7pm in players’ local time.

For the first five minutes of the Spotlight Hour, multiple copies of your buddy Pokemon will spawn on the map, even if it’s a Legendary or other rare Pokemon. When you tap on these Pokemon, you will encounter the trickster Pokemon Zorua instead.

Niantic has reported that this event will happen in both the first 5 minutes and last 5 minutes of the Spotlight Hour, however early reports from players in New Zealand have suggested that the event hasn’t spawned for a second time at the end of the hour. It’s unclear whether this is a bug that will be fixed for other regions, or if players can only encounter a single instance of this event–but you should make sure to log in for the start of the Spotlight Hour just to be safe.

The second part of Pokemon Go’s Halloween event will be starting this week on October 27, check out all the details here.

Read MoreGameSpot – Game News

This Marauders Locations Guide will show you what each Raid location looks like and gives you tips about what you can expect to find within.

If you need some help, check our Discord Oficial Marauders Portugal Click here 

List of Marauders Locations

This is a list of all of the Marauders Locations we’ve found in the game thus far along with some information about each of them.


Iridium Asteroid Mine

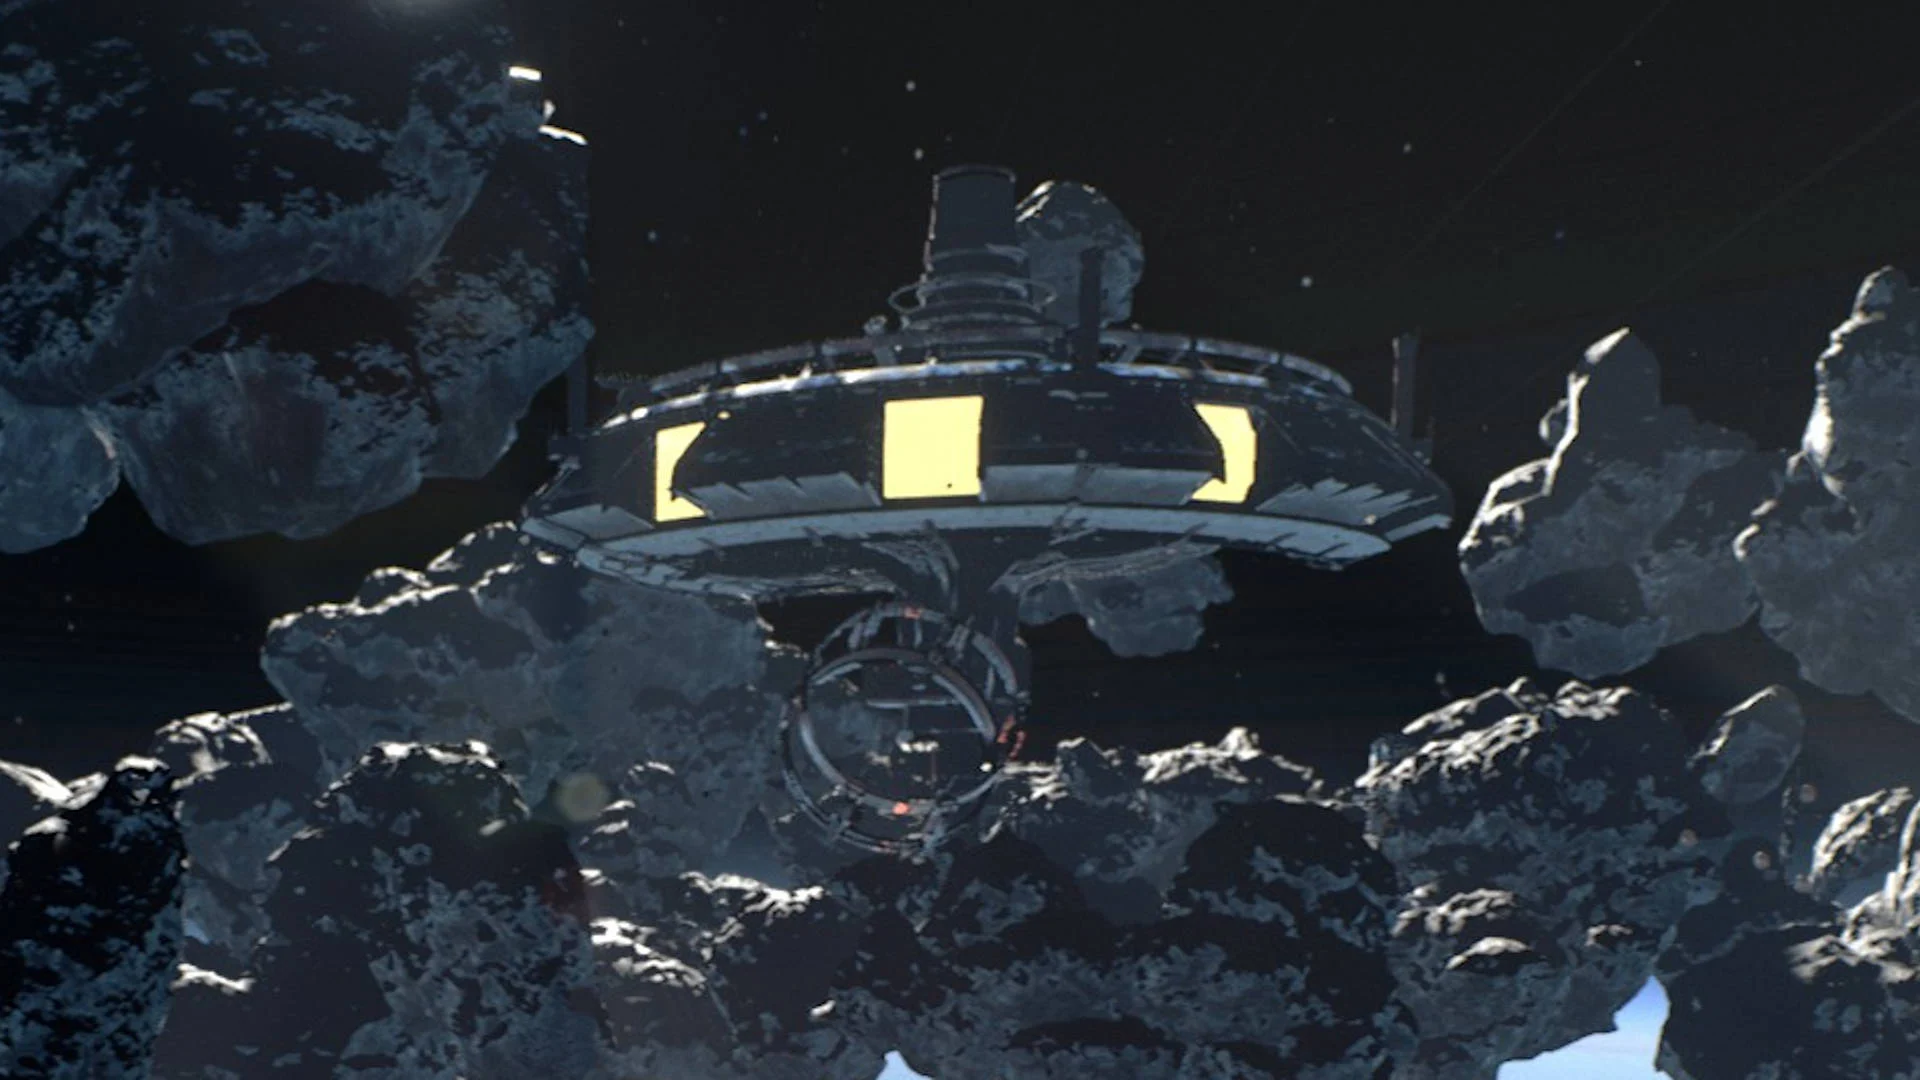
The Iridium Asteroid Mine is overrun with Raiders. It features many large, open spaces where you will be very exposed. Move through the map carefully — walking down the wrong hallway could put you in a position where you’re under attack and you have no cover.

Here are the key locations in the Iridium Asteroid Mine, complete with relevant Contract objectives and general coordinates:

Asteroid Half Track Bike – part of the Zero to Hero ‘Repo Man’ Core Contract.

  • X = 62,283
  • Y = -4,086
  • Z = 74

Security Office – Good loot location, including an armoury requiring a lockpick, and a Transmitter near the entrance.

  • X = 59,000
  • Y = -5,400
  • Z = 497

Air Production/Air Processor – Involved in the Air Production Daily Contract.

  • X = 66,000
  • Y = -1,050
  • Z = 499

Furnace – Involved in the ‘Scouting Party’ Zero to Hero Core Contract.

  • X = 64,000
  • Y = -2,000
  • Z = -29

Mine Depot – High-quality loot location within the Furnace Room that can contain rare Crafting resources, including Nuclear Material.

  • X = 62,500
  • Y = -400
  • Z = 362

Foreman’s Office – The Foreman’s Gold Ring for the Brigand Service Daily Contract can be found here, as well as various medical supplies, alongside a Transmitter.

  • X = 67,000
  • Y = -5,550
  • Z = -910

Mine Tunnels – The Asteroid Nickel Ore for the Mineral Mania Daily Contract can be found here alongside other high-quality loot.

  • X = 65,700
  • Y = -5,120
  • Z = -1,494

Iridium Asteroid Mine Vault – Contains high-quality loot but requires a Blowtorch to enter.

  • X = 63,500
  • Y = -3,000
  • Z = -791

1st Locked Yellow Container – High-quality loot location.

  • X = 61,000
  • Y = -5,660
  • Z = 498

2nd Locked Yellow Container – High-quality loot location.

  • X = 65,400
  • Y = -3,600
  • Z = 297


L1812 Service Space Station

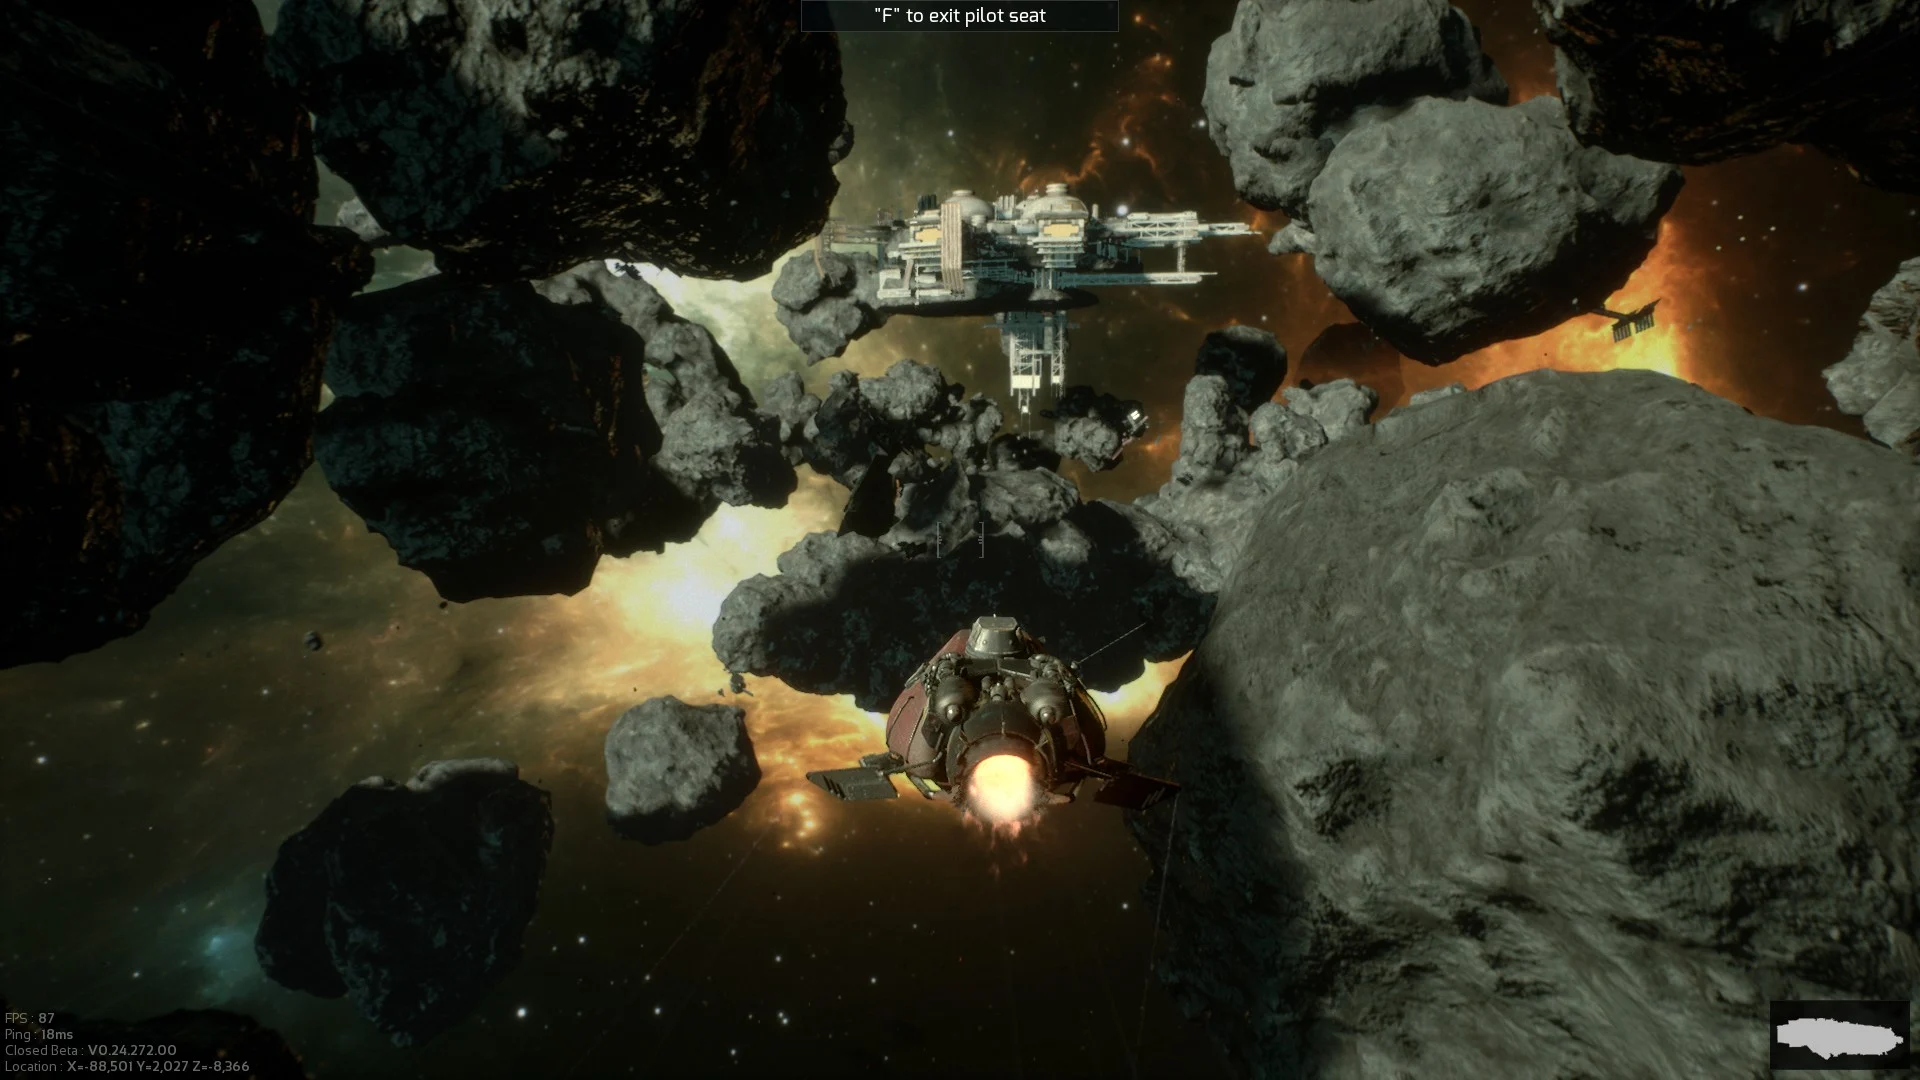
The L1812 Service Space Station has devolved into chaos and has been virtually abandoned. It contains a mix of medium-sized rooms and smaller hallways.

Here are the key locations in the L1812 Service Station/Spaceport, complete with relevant Contract objectives and general coordinates:

Cargo Room – The Spaceport Cargo Report for the Shopping Tour Daily Contract can be found here in the upper room.

  • X = 66,570
  • Y = 19,003
  • Z = 397

The Bar – The Admin Manifest for the Papers Please Daily Contract can be found here, as well as a Transmitter. There is also an Armoury on the ground-floor around the central bar area which stores high-quality loot, and a Medical Room upstairs.

  • X = 59,000
  • Y = 24,000
  • Z = 299

Spaceport Vault – Found at the back of the Bar area, the Vault contains high-quality loot but requires a Blowtorch to enter. This location is also relevant for the Vault Intel Daily Contract.

  • X = 68,000
  • Y = 23,000
  • Z = 100

Heavy Frigate – A Motor Oil Can for the Fuel Shortage Daily Contract can be found on the floor here.

  • X = 55,000
  • Y = 23,000
  • Z = 400

Meat Locker – A helpful landmark to orient yourself during Raids, located near the Bar. This area is often quiet and has quite a few containers to loot.

  • X = 60,500
  • Y = 17,200
  • Z = 200

Customs Rare Loot Room – Found between the Bar and the Meat Locker, this small room in the Customs area houses high-quality loot drops, including weapons, armour, and Crafting materials.

  • X = 59,500
  • Y = 25,000
  • Z = 52

Spaceport Depot – High-quality loot location that can contain rare Crafting resources.

  • X = 69,500
  • Y = 20,000
  • Z = 204

1st Locked Yellow Container – High-quality loot location.

  • X = 64,500
  • Y = 25,500
  • Z = 100

2nd Locked Yellow Container – High-quality loot location (underneath the Heavy Frigate).

  • X = 68,000
  • Y = 23,000
  • Z = 100


As one might expect, you’re going to find tougher-than-usual NPCs in this location. SAS Operatives (and the superior SAS Captains) roam the halls and many of them are equipped with the Bren Mk2 machine gun. Confront the enemies here with caution.

Here are the key locations in the Navy Outpost, complete with relevant Contract objectives and general coordinates:

Barracks – This dense area is the sleeping quarters for the soldiers on board. There are several lockers populating this area that have a chance to contain high-quality loot.

  • X = 24,000
  • Y = 47,000
  • Z = 650

High Command – High-quality loot location. This overlooks the two main hangars, giving you a great vantage point against other players and AI enemies. High Command contains several weapon crates, SAS enemies carrying strong equipment, and can even spawn Supply Drops.

  • X = 20,000
  • Y = 38,500
  • Z = 1,250

War Room – Tucked away down corridors is this high-quality loot location, which can contain War Bonds among other valuable loot in containers.

  • X = 25,500
  • Y = 41,500
  • Z = 1,000

Infirmary – This medical bay on the lower decks contains lots of healing supplies, including a Medical Bag container that can drop rare healing items such as First Aid Kits and Syringes.

  • X = 23,000
  • Y = 43,000
  • Z = 451

Navy Outpost Vault – Located in the main hangar area, the Vault contains high-quality loot but requires a Blowtorch to enter.

  • X = 25,000
  • Y = 37,000
  • Z = 454


Penal Colony Beta 5

Penal Colony Beta 5 is simply out of control. Prisoners roam the corridors freely and many of them have gotten their hands on equipment from long dead security officers. Many of the Prisoners are only armed with a knife. Don’t let them get too close — you can be killed with a single melee hit.

The outer hull is protected by four turrets sitting atop the station. Destroy them with your ship’s gun from a safe distance before approaching.

Here are the key locations in the Penal Colony, complete with relevant Contract objectives and general coordinates:

Central Tower – At the centre of the map, this tower grants easy access to each of the three floors and is a great landmark to orient yourself while exploring Penal Colony.

  • X = 60,000
  • Y = 68,000
  • Z = 679 (ground floor)

Security #1 – A small control room location containing basic loot, including Silver Coins, which serves as a good landmark to orient yourself.

  • X = 55,000
  • Y = 71,500
  • Z = 1,149

Locked Door #1: Maintenance – Near Security, the Maintenance tunnel has an area behind a locked door. Inside can be high-quality loot, including War Bonds.

  • X = 55,000
  • Y = 67,500
  • Z = 750

Locked Door #2 – Between Security and Gym, this locked area contains high-quality loot, including War Bonds.

  • X = 57,800
  • Y = 72,000
  • Z = 600

Security #2 – Another control room type area can be found near Kitchen. Inside can be War Bonds among other loot.

  • X = 66,000
  • Y = 72,000
  • Z = 700

Locked Door #3: Maintenance – Another Maintenance tunnel can be found near Security #2 and the Workshop. In the tunnel will be the third locked area, requiring a lockpick to access the high-quality loot, including War Bonds.

  • X = 66,000
  • Y = 68,000
  • Z = 295

Penal Colony Vault – Housed on the third floor within the Staff Locker area, the Vault contains high-quality loot but requires a Blowtorch to enter.

  • X = 58,000
  • Y = 62,500
  • Z = 1,601


Terraformer

As with the Iridium Asteroid Mine, the Terraformer has a lot of wide-open areas devoid of cover. Try to conserve stamina and be prepared to sprint to safety if you’re in one of these open spaces.

Here are the key locations in the Terraformer, complete with relevant Contract objectives and general coordinates:

Quarters – Near the Research spawn area, the Quarters is a small concrete building that can contain handy medical supplies.

  • X = 54,000
  • Y = -41,000
  • Z = 350

Production – A large concrete building marked with distinctive red paint, Production houses the Production Manifest required for the Crop Production Daily Contract.

  • X = 52,500
  • Y = -44,000
  • Z = 250

Terraformer Depot – Inside the tunnel system is Terraformer’s Depot. This contains high-quality loot, including rare crafting materials.

  • X = 60,000
  • Y = -35,000
  • Z = 206

Locked Door #1: Terraformer A – Inside the large Terraformer A tunnel is an area behind a locked door. Inside can be high-quality loot, including medical supplies.

  • X = 53,000
  • Y = -36,000
  • Z = 350

Locked Door #2: Tunnel B – Further inside the tunnel system, in the Tunnel B zone, is another locked door containing high-quality loot, including valuable War Bonds.

  • X = 61,000
  • Y = -29,000
  • Z = 350

Terraformer Vault – In the central area of the map, near the Research Tunnel, is the Vault, housed within a large concrete building with identifiable yellow markings. The Vault is at the back up the stairs. This area contains high-quality loot but requires a Blowtorch to enter.

  • X = 48,000
  • Y = -32,500
  • Z = 639

1st Locked Yellow Container – High-quality loot location directly outside the Vault building.

  • X = 49,000
  • Y = -31,000
  • Z = 100

2nd Locked Yellow Container – High-quality loot location on the opposite side of the central area from the Vault and the first yellow container.

  • X = 54,000
  • Y = -25,000
  • Z = 100


Merchant Ship

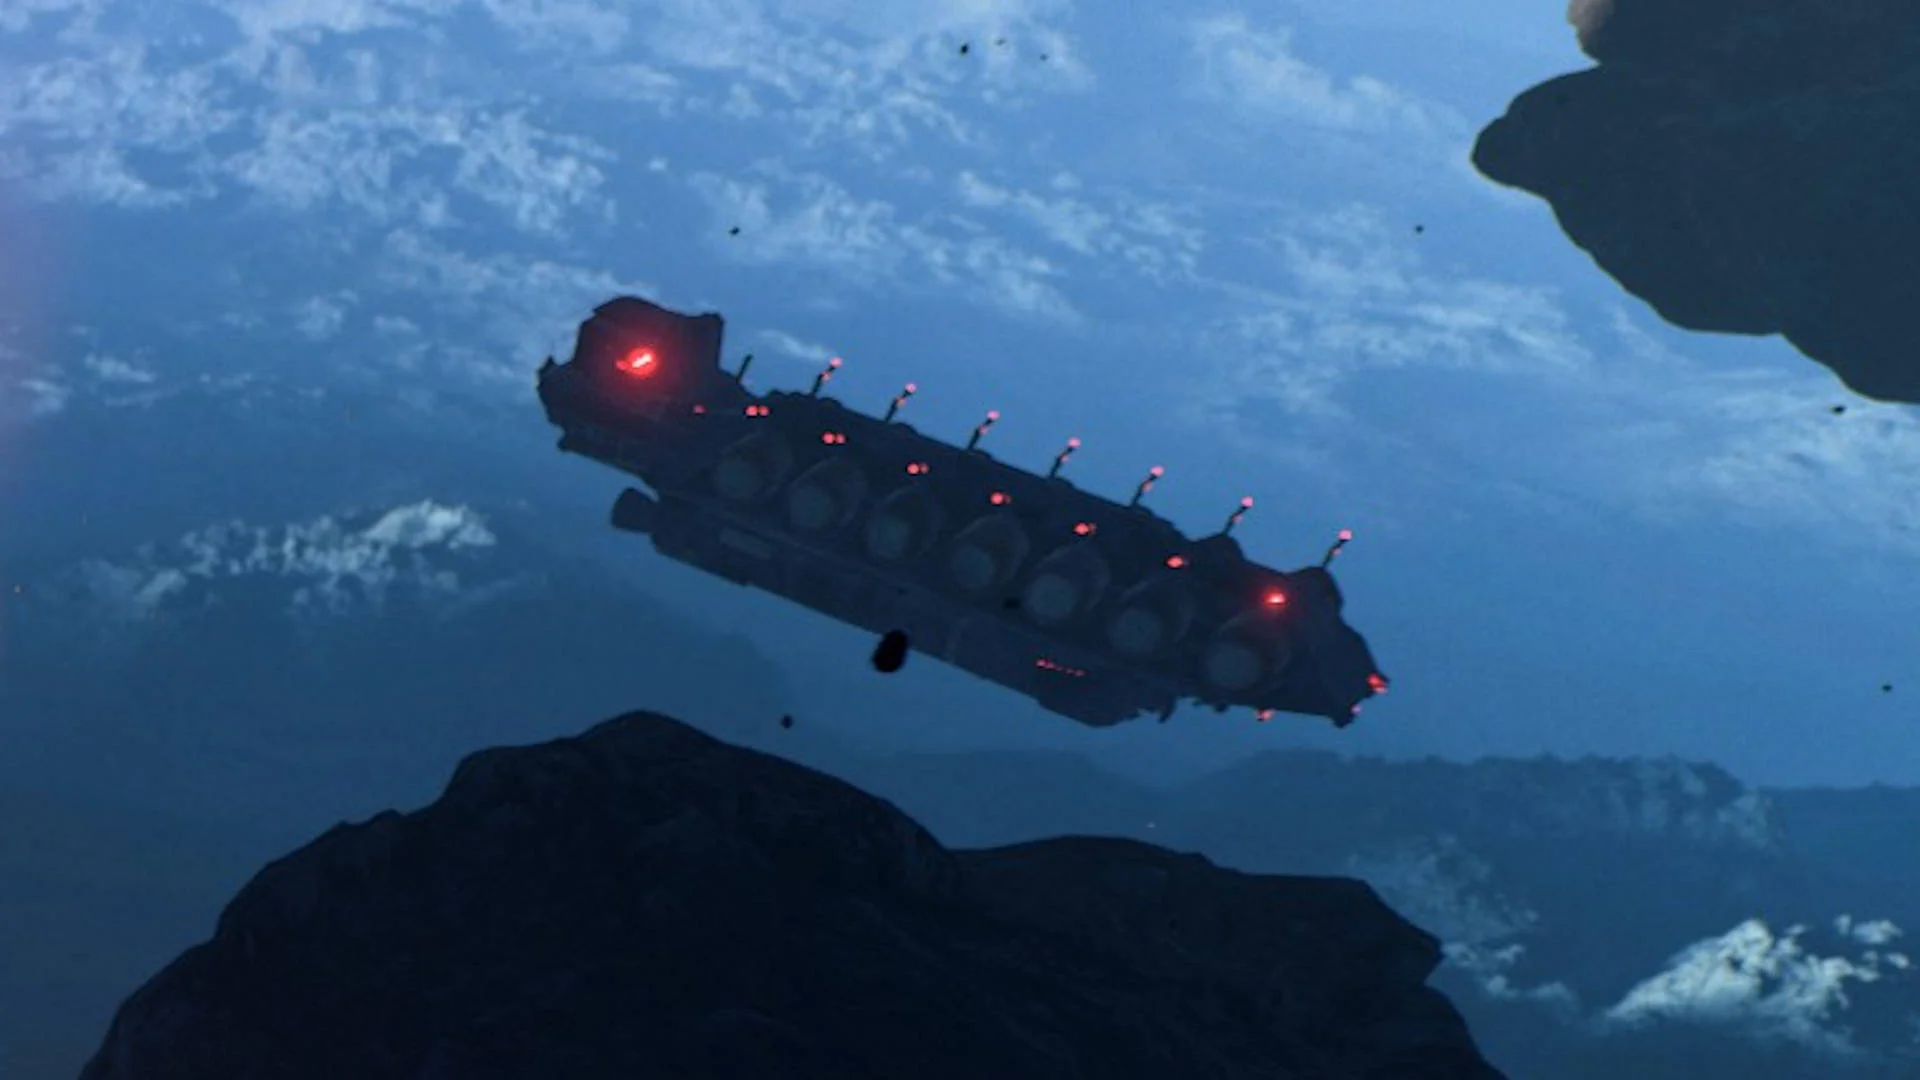
The Merchant Ship is different from standard Marauders Locations. It doesn’t have a dedicated map of its own; rather, the ship can randomly appear in Raids on other locations. You can only board the Merchant Ship by abandoning your ship with a Breaching Pod and using it to breach the Merchant Ship.

This ship is protected by Security Personnel who are armed with PPSH-41s and 1911 Stamps. Unfortunately, several of the Escape Pod/Breaching Pod locations are located right next to each other on the lower deck, so watch out for other players when you’re breaching or escaping the Merchant Ship.

Damaged Capital Ship

Like the Merchant Ship, the Damaged Capital Ship has a random chance to spawn at the start of each Raid you enter and you can only get aboard it by launching a Breaching Pod from your ship. However, it is a much rarer spawn than the Merchant Ship.

Beware approaching the Capital Ship since, although its severely damaged, the heavy Flak Cannon on the top is still very much active. Destroy this cannon from a distance using your ship before approaching and attempting to breach.

The challenge doesn’t end once you board the vessel. The Damaged Capital Ship is a very enclosed and claustrophobic environment, predominantly being tight corridors with several small rooms on either side, giving plenty of opportunity for ambushes. Moreover, the ship is inhabited by the toughest and most deadly NPCs in the game, elite Navy soldiers like the Commando and Captain units, often coming equipped with full Panzer Rigs and assault rifles like the Krasa Rifle. If you manage to take one down, however, you can loot the very same items from their bodies. This makes the Damaged Capital Ship the best place to go for the most powerful Weapons and Armor you can find. Once again, don’t attempt to enter this location lightly or you will pay the price.

Overwatch 2’s first seasonal event is the Halloween-themed Junkenstein’s Revenge: Wrath of the Bride, taking place October 25 – November 9. In the event trailer, Sombra assumes the central role as Bride of Junkenstein, and players can participate in a limited-time four-person co-op mission related to her thirst for revenge.

In the mission, Bride of Junkenstein returns to Adlersbrunn in order to avenge her dead creator and wreak havoc, according to Lord of Adlersbrunn’s diary entry. Special event rewards include Nightfall Over Adlersbrunn Name Card and the Jack-o’-Lantern Weapon Charm.

A few of the Overwatch 2 Halloween skins teased in the trailer

The original Junkenstein’s Revenge co-op Brawl, featuring Junkrat as Dr. Junkenstein, will also return for a limited time. It’s unknown if there’s any special variant to 2022’s Junkenstein’s Revenge, but the 2017 version featured teams of four players facing waves of enemies.

The Junkenstein’s Revenge: Wrath of the Bride trailer also showed off special Halloween skins, including Kiriko’s witch skin, Bastion’s gravestone-themed RIP skin, D.Va’s fox spirit skin, and more.

Speaking of Bastion, both Bastion and Torbjorn are also set to return to Overwatch 2 on October 25. Activision Blizzard previously removed the two characters in order to fix bugs. Torbjorn was only ejected from competitive play, but available in Quick Play, while Bastion was fully exiled.

For more Overwatch 2 coverage, check out our related articles:

Overwatch 2 Support Tier List – All 8 Support Heroes RankedOverwatch 2 DPS Tier List – All 17 Damage Heroes RankedOverwatch 2 Tank Tier List – All 10 Tanks RankedOverwatch 2 Tips And Tricks

Read MoreGameSpot – Game News

Gaming laptops tend to carry hefty price tags. After all, stuffing premium technology into a portable chassis is no easy task. But thanks to Best Buy’s early Black Friday deals, you can snag a reasonably powerful HP Victus for just $480, down from $800. It’s nearly impossible to find a good gaming laptop in the sub-$500 range, so this is definitely worth a closer look if you’re shopping for a reliable laptop on a budget.

All of that tech is pulled together with a sleek, understated design that features a mica silver color scheme–a nice change of pace from the hyper-aggressive “gamer” branding on some of the competition.

The GTX 1650 isn’t exactly futureproof, but it should serve you well if you don’t mind running games at lower settings. And because of its sophisticated design, 720p webcam, and ability to charge to 50% in just 30 minutes, it’s a great work (or school) companion when you’re not gaming.

This HP Victus is one of the best laptop deals at Best Buy, but it’s far from the only one. If you’re not sold on it, be sure to check out the full catalog of early Black Friday deals before they disappear on October 27.

Read MoreGameSpot – Game News

Overwatch 2 has finally launched, bringing new content to the game as well as overhauls for some of the heroes. One of the heroes to get reworked is Bastion, who has gained some mobility while losing the ability to stay in his sentry turret mode indefinitely. Despite no longer being able to stay in his turret mode indefinitely, Bastion is still a top-tier damage dealer if you know how to use him. You can see how all heroes, including this one, stack up in our Overwatch 2 tank tier list, DPS tier list, and support tier list. Where did your favorite land?

Bastion overview

Bastion is a high-powered damage hero that lacks the mobility of most other heroes, but makes up for it with his damage dealing capabilities. Armed with an assault rifle in his normal configuration, which has a slow-rate of fire but deals high damage and is precise. He also has a grenade, which he can throw and bounce off surfaces. In his assault mode, Bastion has his high-powered rotating machine gun, which can melt enemies quickly. Bastion can only be in assault mode temporarily. His ultimate ability fires up to three artillery rounds from an overhead view, which deals massive damage.

Bastion abilities

Configuration Recon: Mobile, with a slow-firing rifle.

Configuration Assault: A slow moving tank with a high-powered machine gun.

A-36 Tactical Grenade: Fire a bomb that bounces off walls and explodes when it impacts enemies or the ground.

Reconfigure: Temporarily switch from Recon to Assault.

Configuration Artillery ultimate: Become immobile and fire up to three powerful artillery shells.

Pew-pew

Bastion doesn’t move very quickly, but he does deal an intense amount of damage.

Bastion is all about just shooting his opponents, dealing high damage quickly. While there isn’t much strategy to this beyond having good aim, there are situations where utilizing his Assault Configuration is better than others. Unlike the Bastion of the original Overwatch, Overwatch 2’s Bastion can only turn into a sentry tank for a short period of time, during which he can move slowly. His assault mode fires a rotating machine gun which has a large magazine. This turret can be used to melt through enemy damage heroes, or work his way through a tank enemy. This is best used when the enemies are pushing together or if the enemy tank is focused on a different member of your team. While outside of mitigation abilities, there isn’t much the enemy team can do to avoid your damage, you don’t move very quickly and are open to attacks.

Bouncing grenade

Bastion’s new ability, the A-36 Tactical Grenade, gives him the chance to deal a high amount of damage to his enemies. The grenade can bounce off surfaces and explode upon impact with the ground or with an enemy. Naturally, the best case scenario is having the grenade impact with an enemy. The bouncing can be a bit chaotic after the first bounce, but once you get a handle on it you can shoot it across far distances.

The artillery rounds

Bastion’s ultimate has a decent amount of flexibility, as he can place three separate artillery rounds during it. While it is similar to many other damage hero ultimates, which deal a large amount of damage in a large circle, Bastion gets to place three of these circles. While most heroes won’t get one-shotted by one of these blasts, they can get taken down by two or three hits. You can attempt to place all three rounds on top of each other to get kills or you can spread it out to try and push enemies one way or the other. It can also be used to block off choke points, or to force the enemy team to disperse, making it easier to pick off members of the enemy team.

Other Bastion tips

Bastion’s ultimate ends when the timer runs out or you fire all three artillery rounds.Since Bastion can only be in Configuration Assault for a short period of time, don’t worry about reloading during it as you likely won’t need to.In both configurations Bastion’s weapons are hit-scan, making him great for taking down flying enemies like Pharah.Be careful where you turn into Configuration Assault as it limits your mobility.’

Read MoreGameSpot – Game News

With the release of Call of Duty: Modern Warfare 2, you’ll want to make sure you’re using the best settings. This guide covers the Controllers, Audio, and Graphics settings in the Call of Duty: Modern Warfare 2 menus. Optimal settings are always going to be subjective, but here we detail our best settings options for Call of Duty: Modern Warfare 2.

Here are the recommended settings for console players on PS4/PS5 and Xbox One/Xbox Series X|S:

Best controller settings

Inputs

Button Layout Preset: TacticalFlip L1/R1 with L2/R2: OffStick Layout Preset: DefaultController Vibration: OffTrigger Effect (PS5): Off

Whether you choose default or tactical button layout might depend on the type of controller you use. There’s a lot of movement happening in Modern Warfare 2 with plenty of opportunities to slide, dive, crouch, and go prone. Tactical layout is recommended for those using a standard controller, as it maps your crouch/slide/dive button to the thumbstick, so you can be quick without ever needing to move your thumb. If you have something like a Scuf or another controller type that lets you remap your buttons, you can just leave this on default setting.

Aiming

Horizontal Stick Sensitivity: 6Vertical Stick Sensitivity: 6ADS Sensitivity Multiplier: 1.00Sensitivity Multiplier: Third Person: 1.00Ground Vehicles: 1.00Air Vehicles: 1.00Tablet: 1.00Vertical Aim Axis: Vertical Aim On Foot: StandardVertical Aim Third Person: StandardVertical Aim Ground Vehicles: StandardVertical Aim Air Vehicles: Standard

For the stick sensitivity, it can vary from player to player. Some pro players stay around 6-8 sensitivity with Call of Duty multiplayer, but some play at extremely high levels of sensitivity. I’d recommend trying out a 6 stick sensitivity and adjusting from there.

MW2 controller settings

Gameplay

Aim Down Sight Behavior: HoldAutomatic Sprint: Automatic Tactical SprintEquipment Behavior: HoldWeapon Mount Activation: ADS + MeleeInteract/Reload Behavior: Prioritize Reload

Advanced controls

Aim assist

Target Aim Assist: OnAim Assist Type: DefaultAim Response Curve Type: StandardADS Aim Assist: On

Feel free to test out all the Aim Assist types, but you’ll likely just want to keep it set to Default. Precision and Focus gives you a stronger aim assist that only kicks in close to the target. There’s also a Black Ops aim assist option for a traditional aim from the Black Ops series, but that seems to feel much like the default setting.

MW2 advanced controller settings

Aiming

ADS Sens. Multiplier: 1.00ADS Sensitivity Transition Timing: InstantCustom Sensitivity Per Zoom: OffInputs Deadzone: Left Stick Min: 0.3Right Stick Min: 0.3Left Stick Max: 0.99Right Stick Max: 0.99L2 Button: 0.3R2 Button: 0.3

Movement Behaviors

Sprint/Tactical Sprint Behavior: ToggleAuto Move Forward: OffTactical Sprint Behavior: Single Tap SprintGrounded Mantle: OffAutomatic Airborne Mantle: PartialAutomatic Ground Mantle: OffInvert Slide and Dive Behavior: StandardPlunging Underwater: MovementSprinting Door Bash: On

Setting the Automatic Grounded Mantle to Off isn’t a huge deal, but it will help keep you from accidentally mantling at a bad time.

Combat Behaviors

ADS Stick Swap: OffBackpack Alternate Control: OffADS Interruption Behavior: InterruptWeapon Mount Movement Exit: OnWeapon Mount Exit Delay: MediumDepleted Ammo Weapon Switch: OnQuick C4 Detonation: On

Vehicle Behaviors

Vehicle Camera Recenter: Short DelayCamera Initial Position: Free Look

Overlays Behavior

Scoreboard Behavior: TogglePing Wheel Delay: ModerateDouble Tap Danger Ping Delay: Moderate

Best graphics settings for console

Details and textures

On Demand Texture Streaming: OffWorld Motion Blur: OffWeapon Motion Blue: OffFilm Grain: 0.00Depth of Field: OffFIDELITYFZ CAS: OnFIDELITYFZ CAS Strength: 50

For the On-Demand Texture Streaming, it’s unclear how much data this uses. If you have unlimited data then it can’t hurt to turn it on, but set this to off or limited if you have a data cap. You could set the setting’s download limit to something small. It also requires 25GB of extra storage, which is something you might not want to use up.

MW2 view settings

View

Field of View: 100.00 ADS: Field of View: AffectedWeapon Field of View: DefaultFirst-Person Camera View: Least 50%Third-Person Camera View: Least 50%Brightness: Adjust brightness to your specific monitor/TVSafe Area: Adjust to your specific monitor/TV

The higher you set the field of view, the more you can see, but it also zooms everything out. For the Field of View, the settings let you go all the way to 120, but this tends to leave you feeling zoomed out too far. It’s all personal preference here, but I recommend testing somewhere between 90-100.

Best audio settings

MW2 audio settings

Volumes

Audio Mix: Home Theater or Headphones Bass BoostMaster Volume: 100Music Volume: 75Dialogue Volume: 80Effects Volume: 100Hit Marker Volume: 80Mono Audio: Off

This setting is the hardest to list because it can be a lot of personal preference and dependent on what device you’re using for audio. If your sound is coming through your TV, Home Theater gives you great sound and decent footstep audio. If you’re using a headset, Headphones Bass Boost is a great option. Everything is super loud in Call of Duty games, but you don’t need everything at max volume to make the most of the experience. Personally, I like to slightly lower the volume of everything except the effects volume. Effects is going to include the game’s precious footstep audio, so I’d never suggest turning that one down.

Subtitles

Subtitles: DefaultSubtitles Size: DefaultOpacity: 0

This is absolute personal preference. Here you can choose Default, where subtitles only appear during the campaign, or you can choose to activate subtitles across all modes, or even turn them off. There are also three subtitle sizes to choose from, so pick what size best suits your needs. There’s also an option to change the opacity, so you can lower it or increase this for better visibility.

Voice Chat

Voice chat device: Choose your specific deviceMicrophone Test: Off

Channels

Auto-Connect At Match Start: LobbyMute Yourself When Connecting: Off

Audio Advanced Settings

Juggernaut Music: OnHit Marker Sound Effects: MWReduce Tinnitus Sound: Off

The default settings are listed for the Advanced Audio because, again, this is personal preference. I personally like the Reduce Tinnitus Sound turned on to reduce the sometimes extreme sound of the flashbang and concussion grenade effects. Choose what’s best for you.

Adjusting these console settings should help you get the best aim, movement, audio, and visuals for Call of Duty: Modern Warfare 2.

Make sure to check out our perk guide for Modern Warfare 2, as the perk system is a bit different for this new year. We also list the best killstreaks in Modern Warfare 2, and explain all the changes to the Gunsmith feature.

Read MoreGameSpot – Game News

Silent Hill 2 is a game that leaves a lot for the player to interpret, thanks to its symbolism and complex lore. However, one popular fan theory has been swatted down by series artist Masahiro Ito, who seems to take particular umbrage with it.

The theory states that player character James Sunderland is not looking at himself in the mirror during the game’s iconic opening scene, but at you, the player. Such fourth-wall breaking wouldn’t be anything new for the Silent Hill franchise, but it apparently was not intended in SH2, at least according to Ito.

So many people have asked me. But it’s a headcanon. James doesn’t look at the player. pic.twitter.com/w40F7sBsJN

— 伊藤暢達/Masahiro Ito (@adsk4) October 22, 2022

“So many people have asked me. But it’s a headcanon. James doesn’t look at the player,” Ito tweeted, along with an image of the scene. “…In the first place, why does he have to see the player who exists in out of the story? He is now there for looking for his wife. Consider the context of the story.”

The announcement of the long-rumored Silent Hill 2 remake reignited interest in this fan theory, along with several other Silent Hill projects. Those include Silent Hill F, which is being written by the author of the When They Cry visual novel series, and Silent Hill Townfall, which is being published by Annapurna.

While some fans might take this official denouncement hard, we encourage you to stick to your headcanon. After all, it’s not like the game is that clear about anything else.

Read MoreGameSpot – Game News

CI Games has detailed its plans for the next five years, sharing a roadmap with investors in which it has revealed that it is working on two new games. CI’s internal Underdog Studio, which has been responsible for the Sniper: Ghost Warrior series of games, will helm a “premium, multiplayer PVE tactical-shooter” that is codenamed Project Scorpio and is being designed as a live-service title. The company’s last Sniper: Ghost Warrior game, Contracts 2, was released back in 2021 and was set in Kuamar, a fictional Middle East location.

Project Survive, CI’s entry in the survival genre, is being developed by Batfields, an external partner based in the Czech Republic. Sniper: Ghost Warrior will also receive a new entry, with that sequel being developed by another external studio alongside Underdog Studio. Finally, CI Games plans to expand its portfolio with new franchises.

The company plans to work with external partners to leverage its internal and external IP, diversifying these efforts into new areas of entertainment.

“Over the last three years, CI Games has gone through a major change, transitioning from a Polish-centric operation to become a developer and publisher with a truly pan-European management and team structure,” Group CEO Marek Tyminski said in a statement. “With our evolved global strategy and roadmap focused on premium console and PC content we are ensuring continued success and future growth for the business.”

CI Games previously announced that after an eight-year break, Lords of the Fallen will be making a return. The new game takes place “more than a thousand years” after the 2014 original and is said to feature an interconnected world that is about five times larger. Players will be able to master “fast, fluid, and challenging” combat, with the development being led by another in-house studio at CI Games, Hexworlds Studio.

Read MoreGameSpot – Game News

It’s Monday and that can only mean one thing: We’re back for another week of Wordle guides. After a long weekend, it’s time to get back into the swing of things, and we’re here to make sure you do that by getting the Wordle correct. Fortunately for those who are still dragging on this late-October Monday, the Wordle isn’t nearly as difficult as the answers from last week. Today’s answer is an extremely common word, but does have some less-than-normal spelling, so some players could struggle if their early guesses don’t pan out. If you haven’t started the October 24 Wordle just yet, then you can check out our list of recommended starting words. However, if you’re already past the starting point and visiting this article, then you might be in need of some help.

That’s where we can come in. Below, players will find two tips for today’s Wordle on October 24. We’ve also spelled out the full answer for players who might not find the hints helpful enough.

Today’s Wordle Answer – October 24, 2022

We’ll begin with a couple of hints that directly relate to the answer, but won’t give it away.

Hint 1: This word can be used to describe being responsible for a certain situation. Another definition for the word is the action of criticizing on the basis of inadequacy.Hint 2: This word has two vowels, both in the middle of the word. The vowels are not repeating. The word ends in “t.”

If those hints weren’t enough to get the ball rolling for you, then you can keep reading for the full answer to the October 24 Wordle. The full answer is “fault.” It’s a Wordle answer that will feel players left frustrated if they can’t manage to get it. Hopefully, every player was able to guess the answer correctly and continue their streak. Check back tomorrow for another edition of our Wordle guides.

Read MoreGameSpot – Game News

Do you like the way your Steam client looks? It’s a question that many of us never even think to ask. But in a tech-obsessed world that lets us customize everything from your phone’s background to your colorful internet browser, it seems fair to consider.

Yet the process of customizing your Steam client is far from intuitive–in fact, if it weren’t for a few intrepid hackers and niche Discords, it would hardly exist at all in 2022. These tools require time, patience, and a bit of research to use correctly. And given Valve’s outsized presence in the PC gaming community–and how basic of a feature this is–it feels like it should be a lot easier.

“There’s just no support for it anymore,” says Jonius7, the developer of Old Glory, a popular Steam skinning tool. “It makes you wonder what Valve thinks about all of it.”

Ostensibly, Steam has supported custom themes (or “skins”) for more than a decade now. All you have to do is download the skin and create a new folder titled “skins” in your main Steam directory. Then drop the skin’s files into it, select it under Steam’s “interface” menu, restart, and presto: You’ve got a new look.

Although this may seem simple enough, the truth is that many of the popular skins for Steam, such as Metro and Air, have been mostly broken for several years now. Specifically, they only overhaul the outer edge of the Steam client itself–though many of these skins originally replaced the entire Steam client, that functionality was removed by Valve piece-by-piece.

The days of easily modding your Steam to look the way you want are, sadly, over.

According to skinners, these problems all began when Valve overhauled the Steam client’s friends list back in 2018. Though these changes brought a raft of new features, such as a favorites section and better groupchat support, it also broke the existing skin support for social features. Skinners were horrified to see their custom friends list and chat windows reduced to the default black of the Steam client, and with no easy way to replace them.

The same thing happened when Valve released the fancy new Steam library later in 2019–it left existing skin support for the “old library” in the dust in favor of a new web-based design. Considering that your game library and social features are what most people use Steam for in the first place, this caused Steam skinners to lose interest in the platform.

“When the friends list beta came out and people saw that Valve’s existing skin support didn’t apply to the friends list, it really hurt the motivation of skin developers,” says PhantomGamers, a software developer in the space. “However, I think if Valve changed their position on skinning, there would be a lot more interest in the future.”

Today, you’ll need to download third-party plugins to impose your will on Steam’s library and friends list. PhantomGamers is the developer of SFP, the follow-up to SteamFriendsPatcher, a program that modifies your Steam install in order to customize these finicky elements. A Steam forums user named Darth figured out how to manually edit the files, but the procedure was so onerous that it inspired PhantomGamers to create a program to automate it, in order to save fellow skin-lovers time and effort. Although he admits that the first version of SteamFriendsPatcher was far from ideal–it stubbornly refused to work for some users–the developer has mostly sanded down its sharp edges. However, while SFP does its job well enough, it’s still a niche plugin at the end of the day.

“Many skin authors aren’t even aware that SFP exists as an option to skin the friends list and library,” PhantomGamers says. “Some of them don’t want to bother it with because they aren’t comfortable using a third-party program to apply the skin.”

While SFP allows you to make radical changes to your Steam client, such as making it look like its green 2004 version, many of the most popular skins are more subtle. Jonius7’s Old Glory program is a set of highly-customizable tweaks that allow users to play around with their Steam Library, such as changing default game images from portrait to landscape, pushing your friend activity boxes down the page, and displaying more game titles per column. Jonius7 says that his motivation in making Old Glory was rather straightforward.

Only real gamers are brave enough to use OG Steam.

“Honestly, I think the default layout sucks,” he explains. “I wanted to change the columns of the game page so I could see my achievements and my friends who play as the first, rather than the news. And the tweaks just grew from there. I wanted to make the library more usable for everyone, and I think I’ve succeeded in that.”

Today, the classic Steam skin Metro lives on, but its setup is a lot more complicated than in its 2018 heyday. There’s an entire multi-part guide on how to use the skin in 2022, which involves using a combination of SFP and a litany of fan-patches by well-known developers like Shiina in order to restore its original functionality. There’s also a Discord with more in-depth explanations. Some of these tweaks require a degree of CSS knowledge in order to achieve your goals, which will probably turn some users off. Speaking for myself, however, I was able to set up my own preferred OG-Steam skin and library using SFP in about a half-hour, though I did encounter a few hiccups on the way.

From a broader perspective, although it’s nice that these hackers have managed to find workarounds, it is strange that Valve has not leveraged these themes for its own purposes. For the sake of comparison, Discord allows your pick of custom themes from a decidedly unofficial applet called “BetterDiscord“–I was able to set up a variety of themes in less than 5 minutes. Given the outsized impact that Steam Workshop has had on the PC mod community, you would expect Valve to find a way to incorporate these themes into its storefront in a more natural way. As PhantomGamers points out, we’ve already seen Valve experiment with this with custom keyboards for the Steam Deck. Why not the core client?

“I would just like to say to someone at Steam, ‘you support your game modders. Why don’t you support us?’ I think all we really need is a line of communication to Valve,” Jonius7 says. “It doesn’t even have to be that big or official. Just a little communication would be nice.”

“I think Valve would only be interested in bringing back full skin functionality if they could monetize it somehow,” PhantomGamers says. “Maybe bringing out a system where creators could put their own skins up and get money for their hard work would be beneficial to everyone. Skin developers put a lot of work into the initial creation of their skins, but they also have to update the skins each time Valve changes the Steam client.”

All-in-all, although Steam skinning is a lot harder than it used to be, the bottom line is that you can customize it if you’re willing to do the work. I personally quite enjoy my OG-Steam skin, and I plan on doing whatever it takes to maintain it in the short run. However, there is no doubt that there’s a lot of room for Valve to make things easier for these theme developers, as well as possibly making some profit for themselves. As such, we can only hope that they take the time to reevaluate Steam skinning in a future update in order to make your library just that much more vibrant and fun to use.

Read MoreGameSpot – Game News