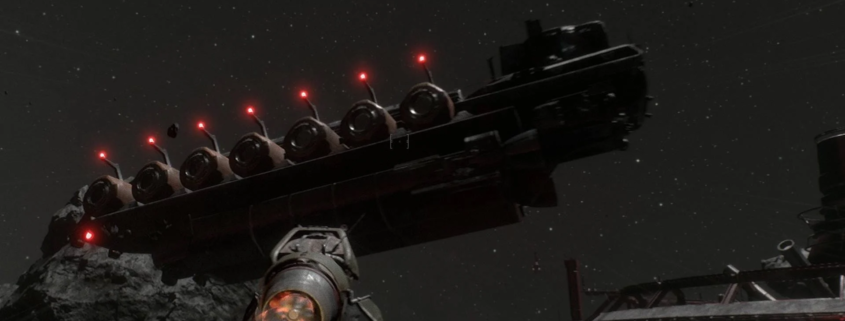
Marauders Locations Guide
This Marauders Locations Guide will show you what each Raid location looks like and gives you tips about what you can expect to find within.
If you need some help, check our Discord Oficial Marauders Portugal Click here
List of Marauders Locations
This is a list of all of the Marauders Locations we’ve found in the game thus far along with some information about each of them.
Iridium Asteroid Mine

The Iridium Asteroid Mine is overrun with Raiders. It features many large, open spaces where you will be very exposed. Move through the map carefully — walking down the wrong hallway could put you in a position where you’re under attack and you have no cover.
Here are the key locations in the Iridium Asteroid Mine, complete with relevant Contract objectives and general coordinates:
Asteroid Half Track Bike – part of the Zero to Hero ‘Repo Man’ Core Contract.
- X = 62,283
- Y = -4,086
- Z = 74
Security Office – Good loot location, including an armoury requiring a lockpick, and a Transmitter near the entrance.
- X = 59,000
- Y = -5,400
- Z = 497
Air Production/Air Processor – Involved in the Air Production Daily Contract.
- X = 66,000
- Y = -1,050
- Z = 499
Furnace – Involved in the ‘Scouting Party’ Zero to Hero Core Contract.
- X = 64,000
- Y = -2,000
- Z = -29
Mine Depot – High-quality loot location within the Furnace Room that can contain rare Crafting resources, including Nuclear Material.
- X = 62,500
- Y = -400
- Z = 362
Foreman’s Office – The Foreman’s Gold Ring for the Brigand Service Daily Contract can be found here, as well as various medical supplies, alongside a Transmitter.
- X = 67,000
- Y = -5,550
- Z = -910
Mine Tunnels – The Asteroid Nickel Ore for the Mineral Mania Daily Contract can be found here alongside other high-quality loot.
- X = 65,700
- Y = -5,120
- Z = -1,494
Iridium Asteroid Mine Vault – Contains high-quality loot but requires a Blowtorch to enter.
- X = 63,500
- Y = -3,000
- Z = -791
1st Locked Yellow Container – High-quality loot location.
- X = 61,000
- Y = -5,660
- Z = 498
2nd Locked Yellow Container – High-quality loot location.
- X = 65,400
- Y = -3,600
- Z = 297
L1812 Service Space Station
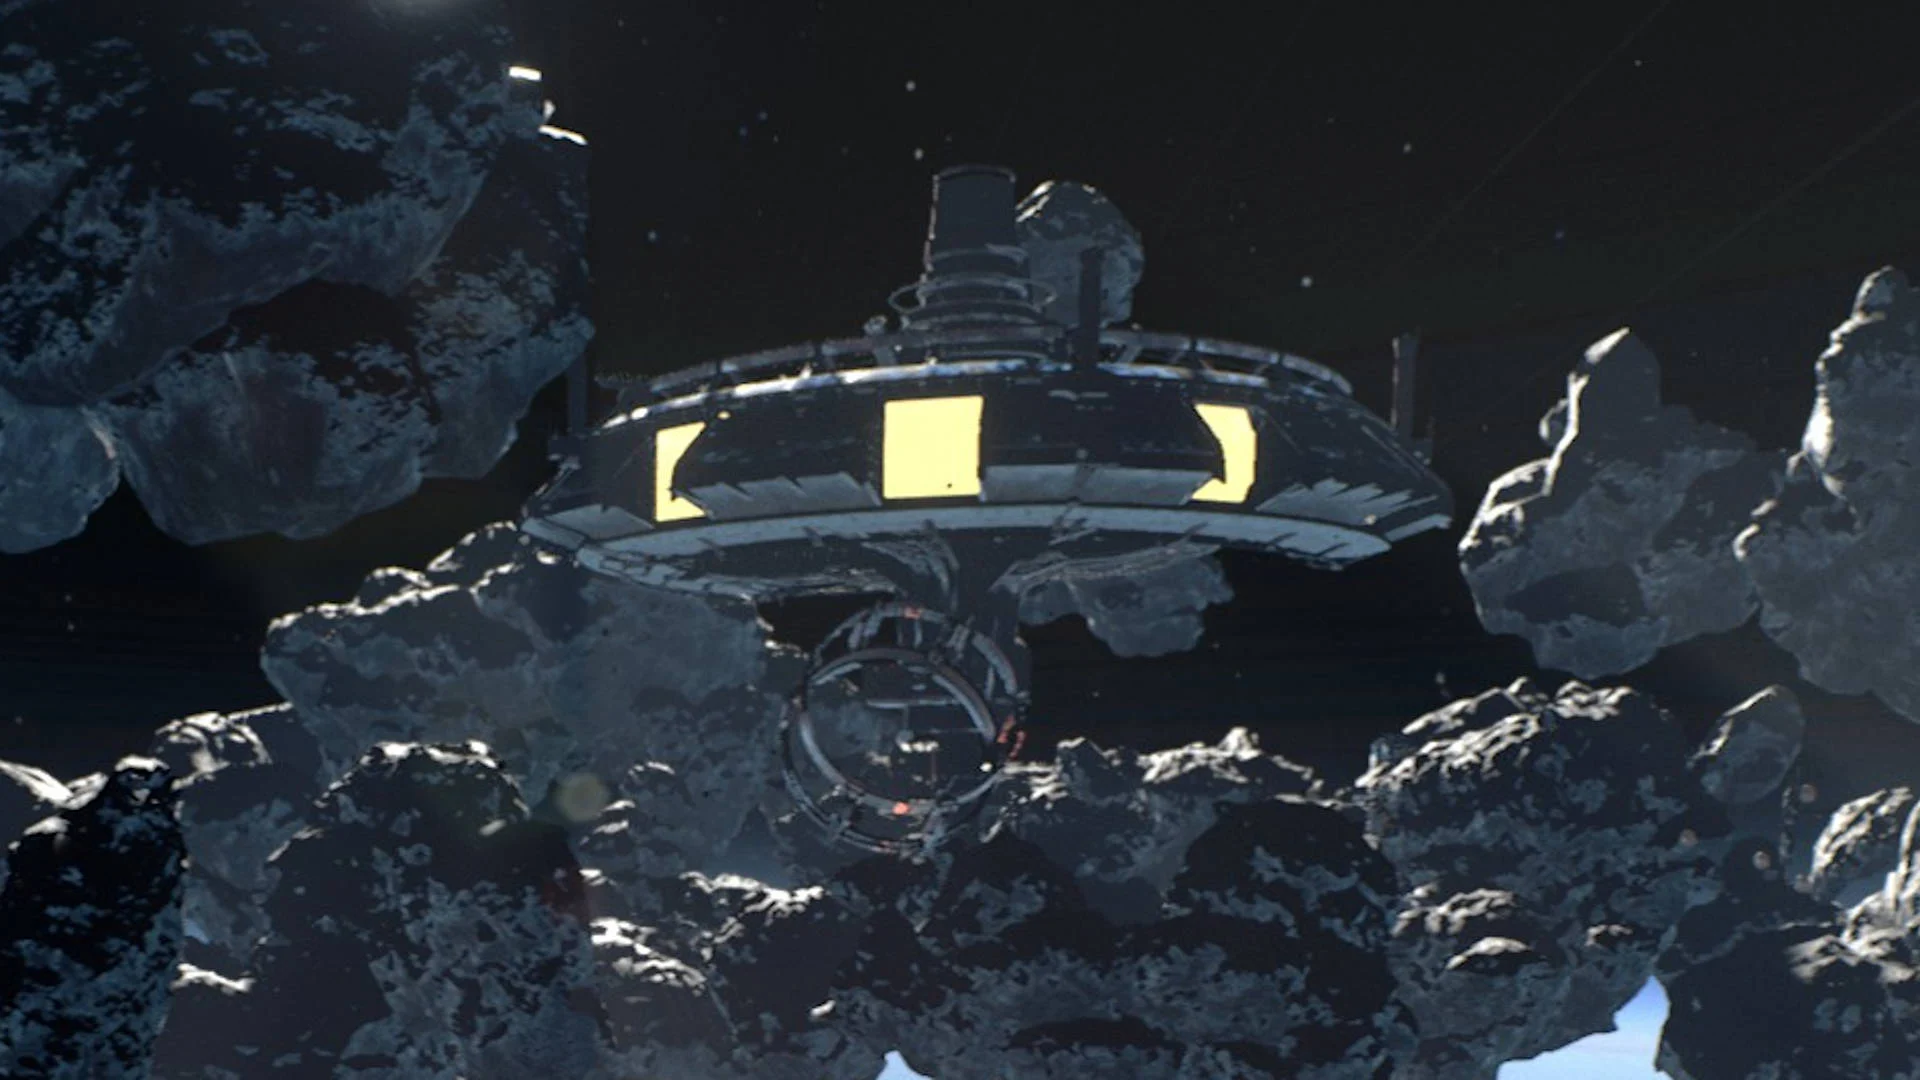
The L1812 Service Space Station has devolved into chaos and has been virtually abandoned. It contains a mix of medium-sized rooms and smaller hallways.
Here are the key locations in the L1812 Service Station/Spaceport, complete with relevant Contract objectives and general coordinates:
Cargo Room – The Spaceport Cargo Report for the Shopping Tour Daily Contract can be found here in the upper room.
- X = 66,570
- Y = 19,003
- Z = 397
The Bar – The Admin Manifest for the Papers Please Daily Contract can be found here, as well as a Transmitter. There is also an Armoury on the ground-floor around the central bar area which stores high-quality loot, and a Medical Room upstairs.
- X = 59,000
- Y = 24,000
- Z = 299
Spaceport Vault – Found at the back of the Bar area, the Vault contains high-quality loot but requires a Blowtorch to enter. This location is also relevant for the Vault Intel Daily Contract.
- X = 68,000
- Y = 23,000
- Z = 100
Heavy Frigate – A Motor Oil Can for the Fuel Shortage Daily Contract can be found on the floor here.
- X = 55,000
- Y = 23,000
- Z = 400
Meat Locker – A helpful landmark to orient yourself during Raids, located near the Bar. This area is often quiet and has quite a few containers to loot.
- X = 60,500
- Y = 17,200
- Z = 200
Customs Rare Loot Room – Found between the Bar and the Meat Locker, this small room in the Customs area houses high-quality loot drops, including weapons, armour, and Crafting materials.
- X = 59,500
- Y = 25,000
- Z = 52
Spaceport Depot – High-quality loot location that can contain rare Crafting resources.
- X = 69,500
- Y = 20,000
- Z = 204
1st Locked Yellow Container – High-quality loot location.
- X = 64,500
- Y = 25,500
- Z = 100
2nd Locked Yellow Container – High-quality loot location (underneath the Heavy Frigate).
- X = 68,000
- Y = 23,000
- Z = 100
Navy Outpost

As one might expect, you’re going to find tougher-than-usual NPCs in this location. SAS Operatives (and the superior SAS Captains) roam the halls and many of them are equipped with the Bren Mk2 machine gun. Confront the enemies here with caution.
Here are the key locations in the Navy Outpost, complete with relevant Contract objectives and general coordinates:
Barracks – This dense area is the sleeping quarters for the soldiers on board. There are several lockers populating this area that have a chance to contain high-quality loot.
- X = 24,000
- Y = 47,000
- Z = 650
High Command – High-quality loot location. This overlooks the two main hangars, giving you a great vantage point against other players and AI enemies. High Command contains several weapon crates, SAS enemies carrying strong equipment, and can even spawn Supply Drops.
- X = 20,000
- Y = 38,500
- Z = 1,250
War Room – Tucked away down corridors is this high-quality loot location, which can contain War Bonds among other valuable loot in containers.
- X = 25,500
- Y = 41,500
- Z = 1,000
Infirmary – This medical bay on the lower decks contains lots of healing supplies, including a Medical Bag container that can drop rare healing items such as First Aid Kits and Syringes.
- X = 23,000
- Y = 43,000
- Z = 451
Navy Outpost Vault – Located in the main hangar area, the Vault contains high-quality loot but requires a Blowtorch to enter.
- X = 25,000
- Y = 37,000
- Z = 454
Penal Colony Beta 5

Penal Colony Beta 5 is simply out of control. Prisoners roam the corridors freely and many of them have gotten their hands on equipment from long dead security officers. Many of the Prisoners are only armed with a knife. Don’t let them get too close — you can be killed with a single melee hit.
The outer hull is protected by four turrets sitting atop the station. Destroy them with your ship’s gun from a safe distance before approaching.
Here are the key locations in the Penal Colony, complete with relevant Contract objectives and general coordinates:
Central Tower – At the centre of the map, this tower grants easy access to each of the three floors and is a great landmark to orient yourself while exploring Penal Colony.
- X = 60,000
- Y = 68,000
- Z = 679 (ground floor)
Security #1 – A small control room location containing basic loot, including Silver Coins, which serves as a good landmark to orient yourself.
- X = 55,000
- Y = 71,500
- Z = 1,149
Locked Door #1: Maintenance – Near Security, the Maintenance tunnel has an area behind a locked door. Inside can be high-quality loot, including War Bonds.
- X = 55,000
- Y = 67,500
- Z = 750
Locked Door #2 – Between Security and Gym, this locked area contains high-quality loot, including War Bonds.
- X = 57,800
- Y = 72,000
- Z = 600
Security #2 – Another control room type area can be found near Kitchen. Inside can be War Bonds among other loot.
- X = 66,000
- Y = 72,000
- Z = 700
Locked Door #3: Maintenance – Another Maintenance tunnel can be found near Security #2 and the Workshop. In the tunnel will be the third locked area, requiring a lockpick to access the high-quality loot, including War Bonds.
- X = 66,000
- Y = 68,000
- Z = 295
Penal Colony Vault – Housed on the third floor within the Staff Locker area, the Vault contains high-quality loot but requires a Blowtorch to enter.
- X = 58,000
- Y = 62,500
- Z = 1,601
Terraformer
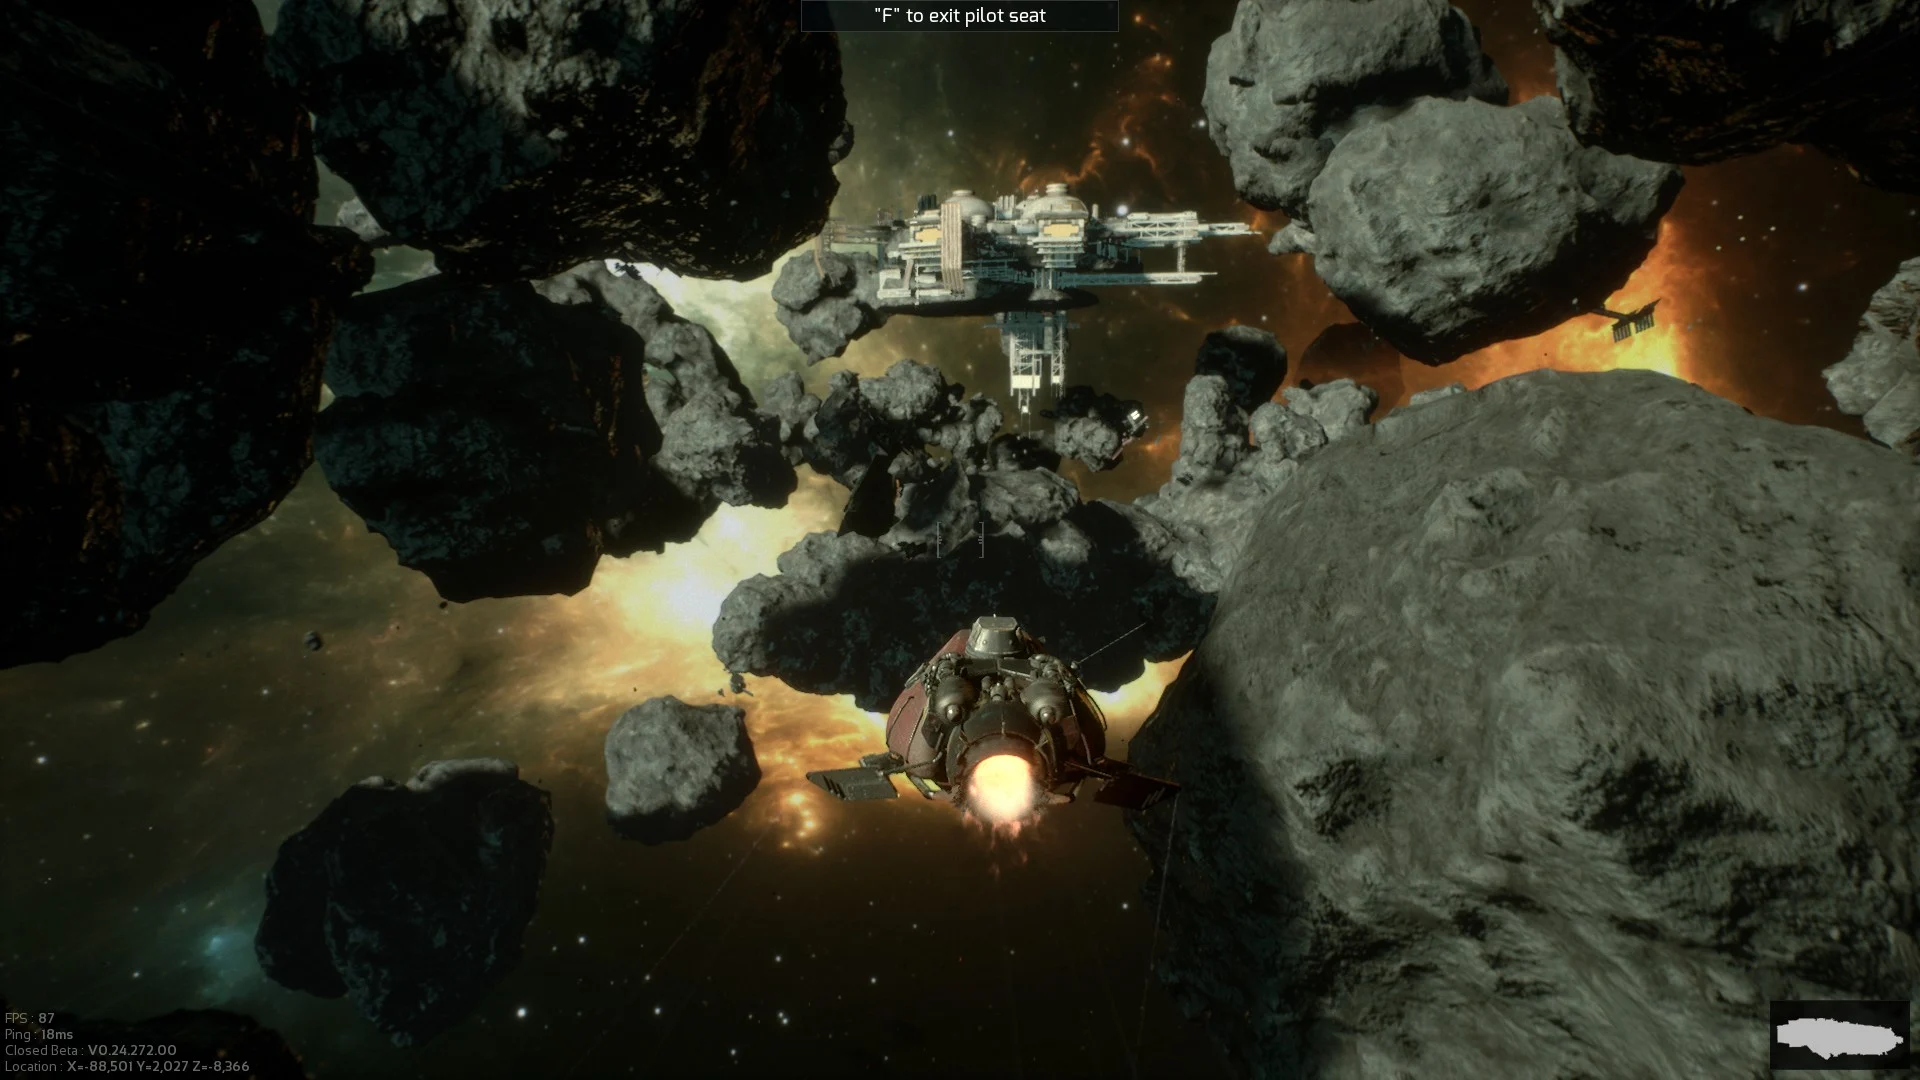
As with the Iridium Asteroid Mine, the Terraformer has a lot of wide-open areas devoid of cover. Try to conserve stamina and be prepared to sprint to safety if you’re in one of these open spaces.
Here are the key locations in the Terraformer, complete with relevant Contract objectives and general coordinates:
Quarters – Near the Research spawn area, the Quarters is a small concrete building that can contain handy medical supplies.
- X = 54,000
- Y = -41,000
- Z = 350
Production – A large concrete building marked with distinctive red paint, Production houses the Production Manifest required for the Crop Production Daily Contract.
- X = 52,500
- Y = -44,000
- Z = 250
Terraformer Depot – Inside the tunnel system is Terraformer’s Depot. This contains high-quality loot, including rare crafting materials.
- X = 60,000
- Y = -35,000
- Z = 206
Locked Door #1: Terraformer A – Inside the large Terraformer A tunnel is an area behind a locked door. Inside can be high-quality loot, including medical supplies.
- X = 53,000
- Y = -36,000
- Z = 350
Locked Door #2: Tunnel B – Further inside the tunnel system, in the Tunnel B zone, is another locked door containing high-quality loot, including valuable War Bonds.
- X = 61,000
- Y = -29,000
- Z = 350
Terraformer Vault – In the central area of the map, near the Research Tunnel, is the Vault, housed within a large concrete building with identifiable yellow markings. The Vault is at the back up the stairs. This area contains high-quality loot but requires a Blowtorch to enter.
- X = 48,000
- Y = -32,500
- Z = 639
1st Locked Yellow Container – High-quality loot location directly outside the Vault building.
- X = 49,000
- Y = -31,000
- Z = 100
2nd Locked Yellow Container – High-quality loot location on the opposite side of the central area from the Vault and the first yellow container.
- X = 54,000
- Y = -25,000
- Z = 100
Merchant Ship
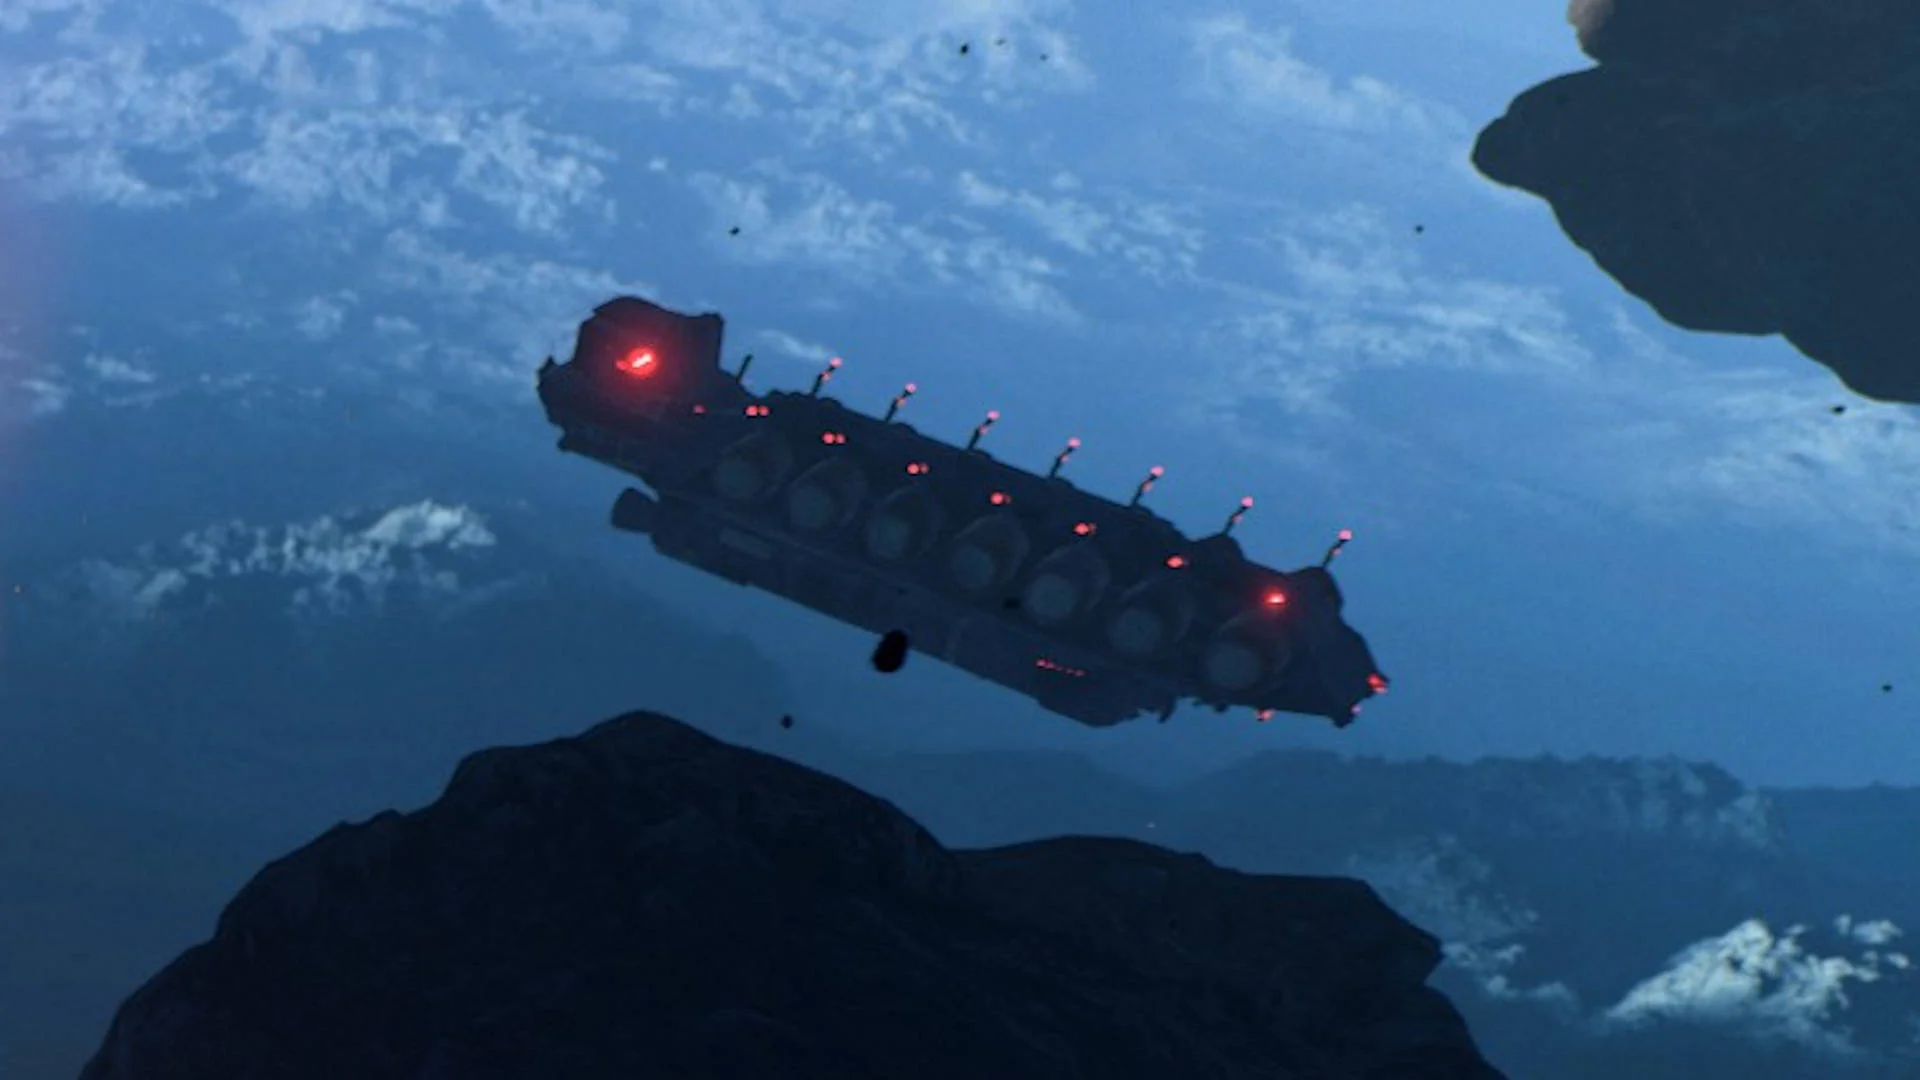
The Merchant Ship is different from standard Marauders Locations. It doesn’t have a dedicated map of its own; rather, the ship can randomly appear in Raids on other locations. You can only board the Merchant Ship by abandoning your ship with a Breaching Pod and using it to breach the Merchant Ship.
This ship is protected by Security Personnel who are armed with PPSH-41s and 1911 Stamps. Unfortunately, several of the Escape Pod/Breaching Pod locations are located right next to each other on the lower deck, so watch out for other players when you’re breaching or escaping the Merchant Ship.
Damaged Capital Ship

Like the Merchant Ship, the Damaged Capital Ship has a random chance to spawn at the start of each Raid you enter and you can only get aboard it by launching a Breaching Pod from your ship. However, it is a much rarer spawn than the Merchant Ship.
Beware approaching the Capital Ship since, although its severely damaged, the heavy Flak Cannon on the top is still very much active. Destroy this cannon from a distance using your ship before approaching and attempting to breach.
The challenge doesn’t end once you board the vessel. The Damaged Capital Ship is a very enclosed and claustrophobic environment, predominantly being tight corridors with several small rooms on either side, giving plenty of opportunity for ambushes. Moreover, the ship is inhabited by the toughest and most deadly NPCs in the game, elite Navy soldiers like the Commando and Captain units, often coming equipped with full Panzer Rigs and assault rifles like the Krasa Rifle. If you manage to take one down, however, you can loot the very same items from their bodies. This makes the Damaged Capital Ship the best place to go for the most powerful Weapons and Armor you can find. Once again, don’t attempt to enter this location lightly or you will pay the price.

